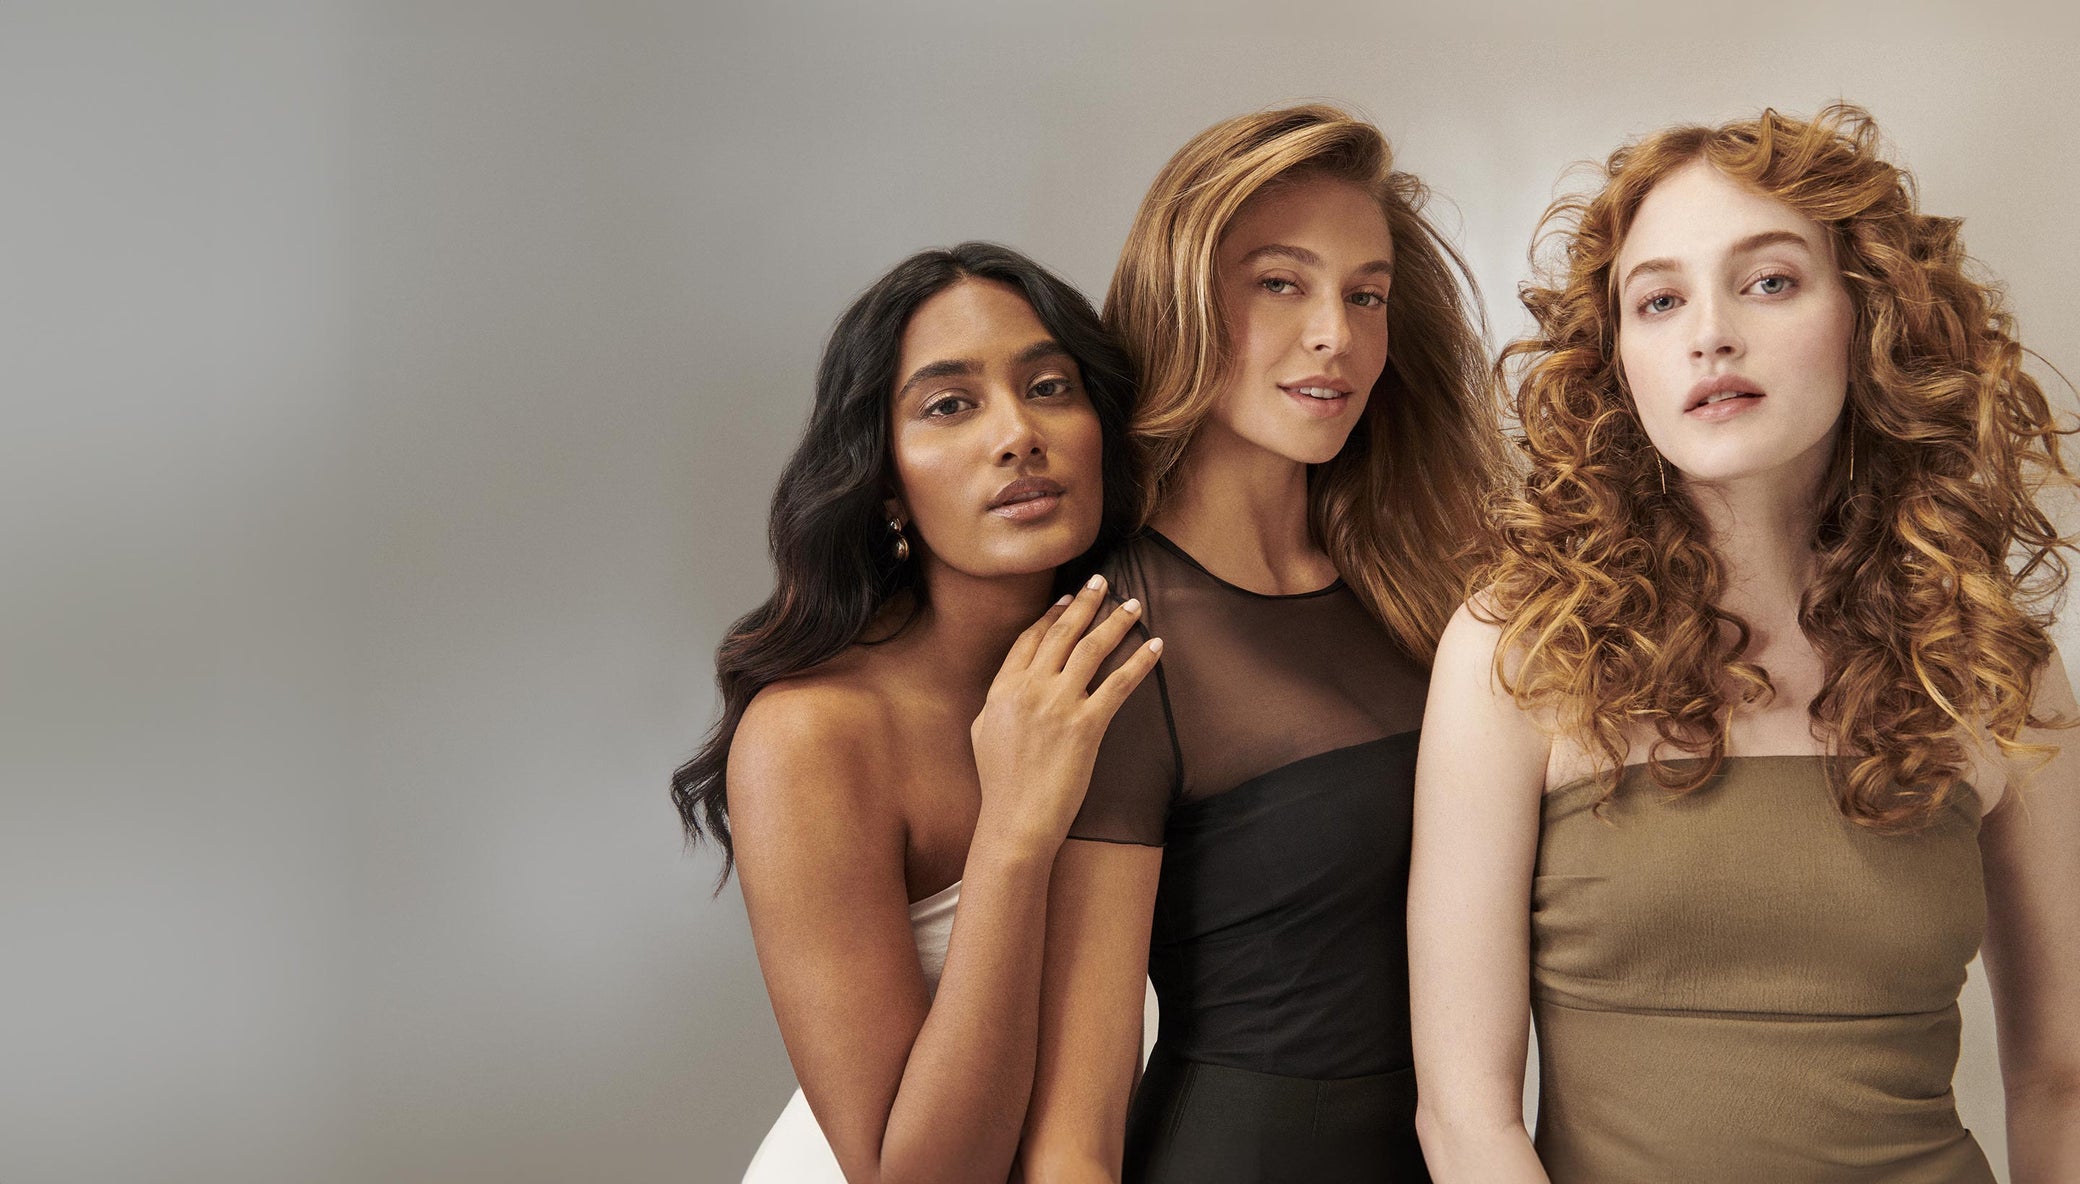
FOR CURLS OF ALL SIZES
25% Off Long Barrels
Use Code: CURLS
Explore the best in-class hair tools
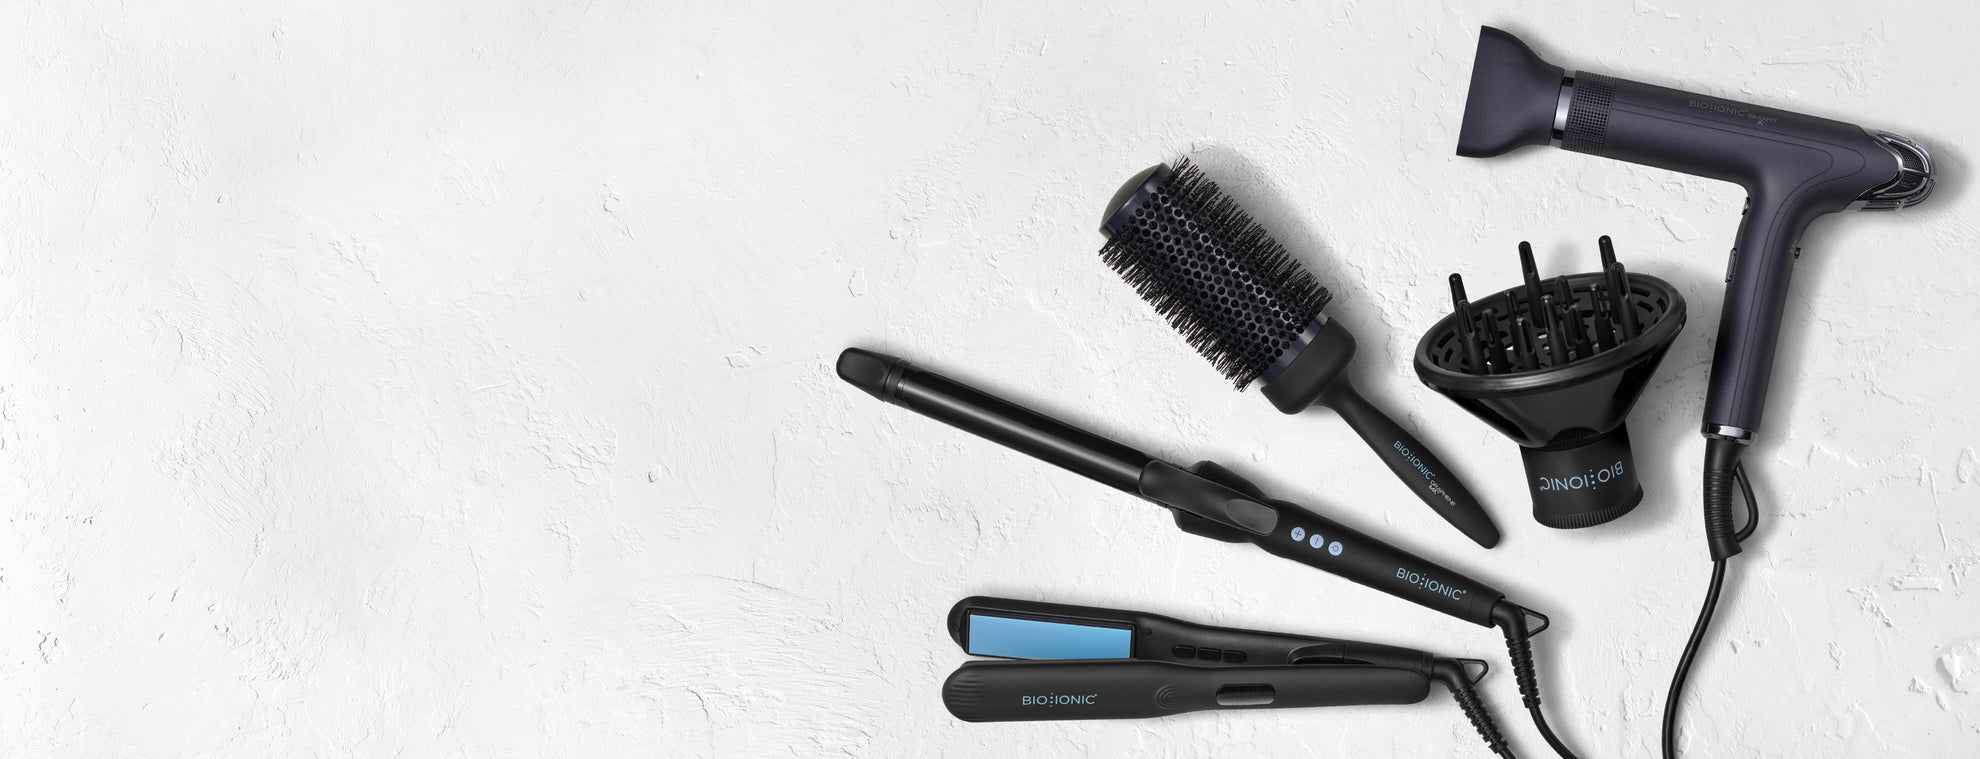
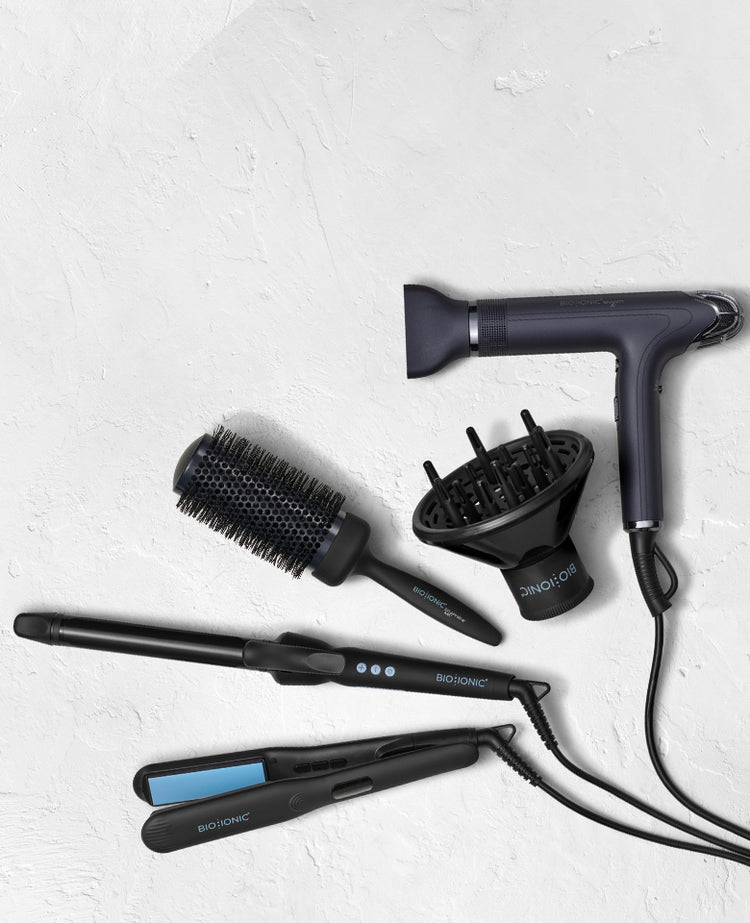
Check out these videos to see our tools in action.